Supply Bags
A guide for DR:TX players
This guide is meant to show you one of the ways you can furnish your own Supply Bag for your character(s) coming in to our game.
What is a Supply Bag?
A Supply Bag is where all the carded items your character carries (other than weapons and armor) ‘lives’. This is the physical representation of all the stuff they carry, so that you don’t actually have to have separate ‘phys reps’ (physical representations) for everything. Instead, a bag of adequate size holds enough stuff to represent all those things in the play space. You keep it on you, or within access to your character, anytime you are carrying stuff that has an item card.
This way, when you need to pull out an injectable, or a brew, or some other item, you have something you can actually pull out and roleplay using for the purposes of administering items to yourself and others.
According to the DRL rulebook your supply bag needs to be able to close while holding six refillable water containers, six syringes (needle-less!), all your item cards and be clearly labeled as a supply bag. You don’t need to carry all that stuff constantly, but you do need to have enough space in your bag to contain it all as needed.
You can always add to this bag other props you find useful, like bundles of plastic plants to represent herbs and produce, or chunks of foam for scrap metal, but it’s not required.
“A bag that characters carry on themselves that stores all scrap, herb, and other item cards that they are carrying. While you still are required to link an item card to a physical representation for use, you do not need all items to all have representations at all times; you just need physical representations for the items you have on you that you want to sell or use. This bag must be large enough to hold your refillable water containers, all needle physical representations, and all item cards at once and still close. You can only have one Supply Bag on you at any time, and you cannot use other bags or items to disguise your Supply Bag. Supply Bags can have reasonable modifications (for example, a hip pouch that’s large enough to hold items), but must have the words, “Supply Bag” visible on it. While you may have genre physical representations visibly attached to your costuming, you should keep in mind other’s personal boundaries and how they interact with the Pick Pocket skill. In other words, make sure these physical representations are not put in sensitive areas or other areas you wouldn’t want someone to attach a clothespin to. Those who disguise themselves are encouraged to use a secondary Supply Bag with their new costuming.”
~Dystopia Rising Live Player’s Guide, Page 96
This mini guide uses:
Inexpensive water based acrylic paints
Matte Modge Podge spray
Cheap hardware store primer spray paints.
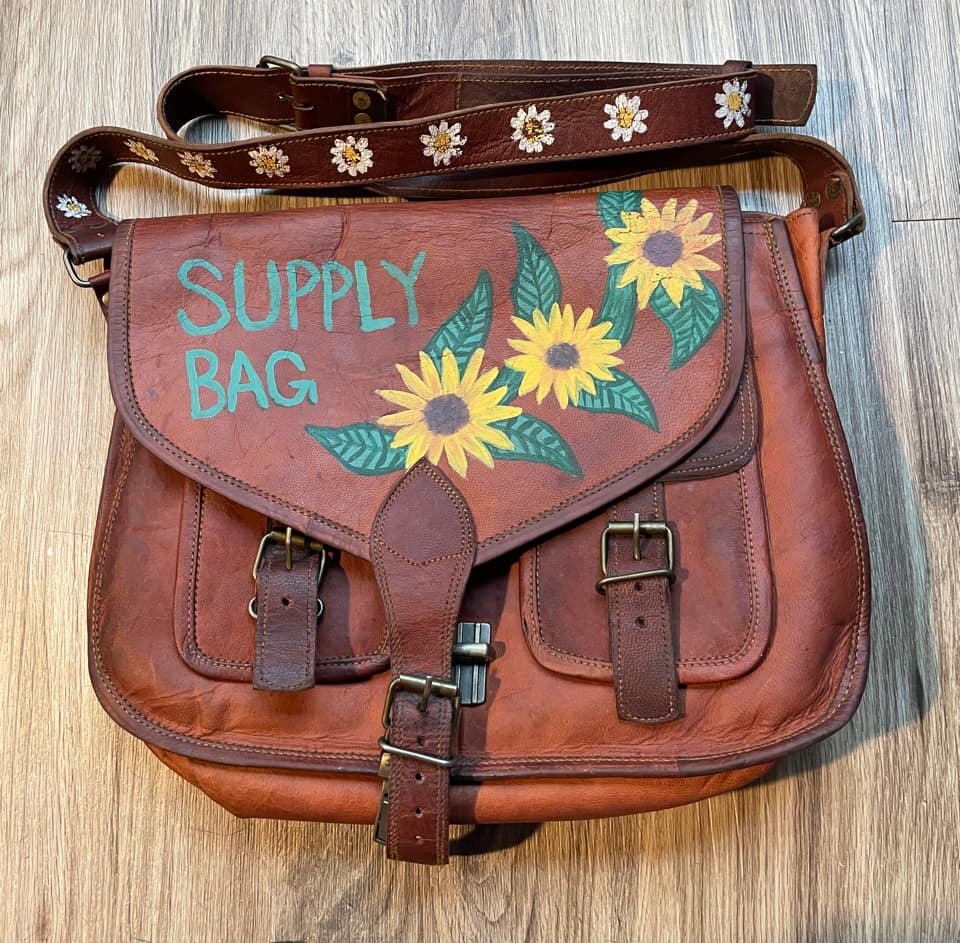
The supply Bag


I got a 13L hydration pack from Target a few years ago and it served me well while I owned it. I dirtied it up with some spritzes of black and dark brown spray paint, teased the edges with dark and medium brown acrylics. Used an even lighter brown to make a brighter panel where I could put my text. Then I used a pencil to sketch my letters on.
Once I was happy with the spacing, I used the same brown paint, with a little white added to make the base letters. I progressively added white paint to the brown to make lighter tones and layered that over each other, refining the shape of the letters each time. I finished the last layer with a thin line of pure white paint. Keep in mind the rules don't require you to put your player number on the bag, but I choose to since it will make it easier to get back to me if it goes missing. Let it dry then hit the entire thing with some matte modge podge acrylic sealer.
Bottles


First I dressed them up with a bit of sandpaper. You could use the same or just find a rough surface to scuff them up. Clean shiny plastic would be a rarity in the wastes, so beat them up! I've found that a flat concrete surface can work as impromptu sandpapers for stuff like this.
Once I was happy with the surface, I spritzed black and brown paint from a spray can over them. I held the can about two and a half feet away to make the droplets really small.


While we have the spray paint out, hit the white caps with some brown, then thin coat of white and sprinkle black on them from a distance. *chefs kiss*
A quick coat of modge podge evened out the surface and locked on the paint. Then I wrapped the bottles in white cloth medical tape.


You could use any tape really, but I like the way white cloth tape looks when painted. Which brings me to the next step, paint!
If you have fancy miniature painting shade paints like Army Painter Strong Tone or Citadel Agrax Earthshade, you can use those to make a really nice tone over the entire tape surface, or you can be frugal like me and just use really watered down 99c acrylics from Walmart.
Either way, dirty them up to your heart's content. Use a paint marker or sharpie to put your player number on the back or on the bottom if you want then hit the entire thing with sealer.
Done!


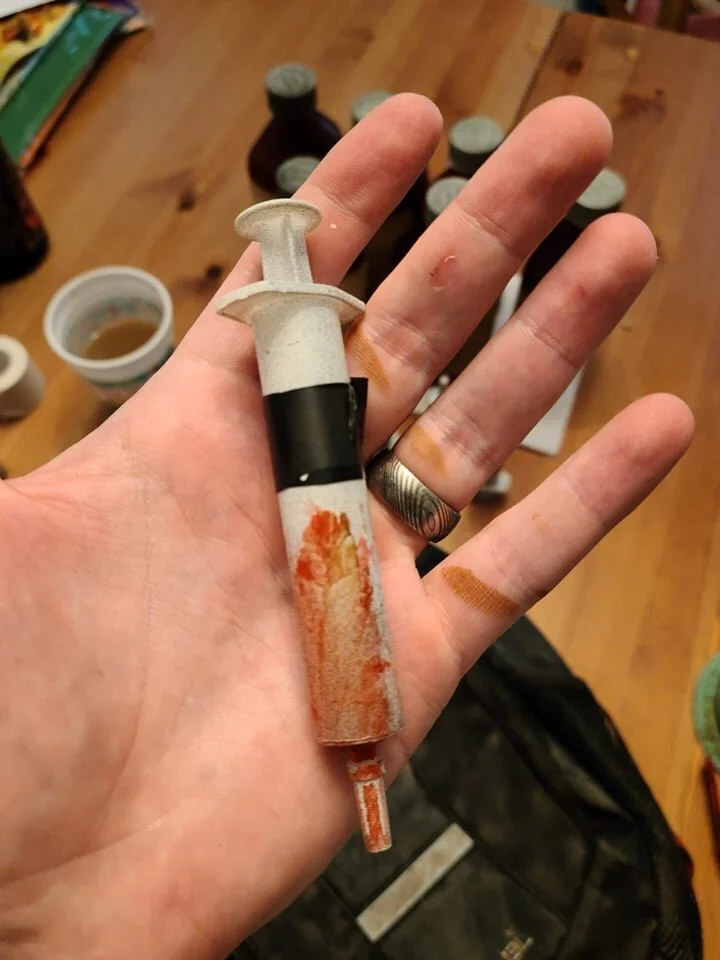
Syringes
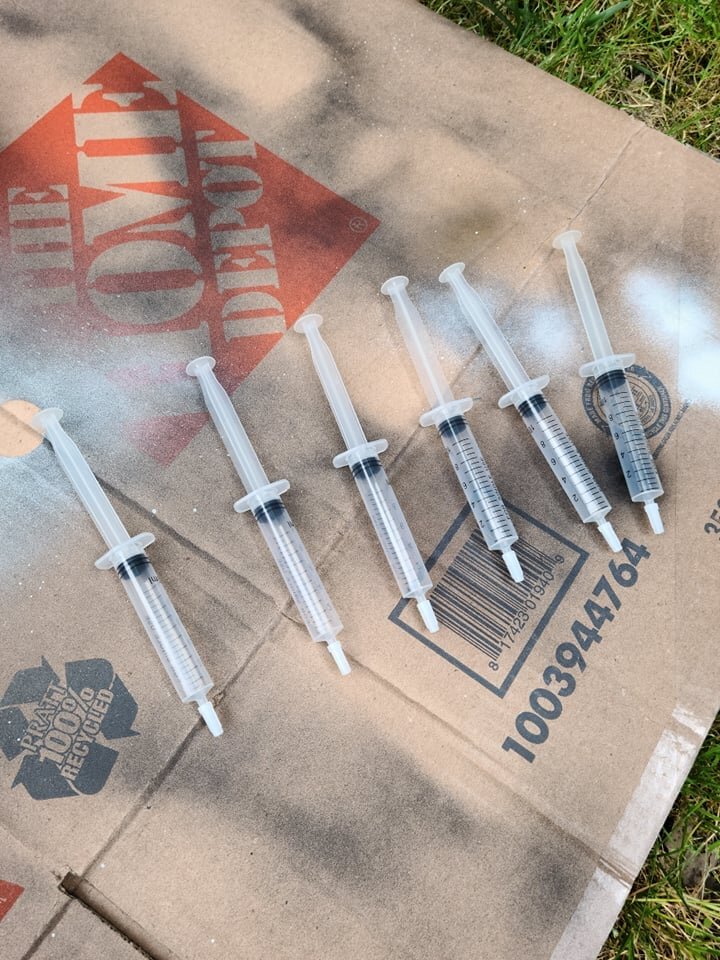
Before you paint them, take the little caps off the ends if they have them and pull the plungers back so they are almost out of the tube. Replace the cap and you have a well sealed syringe that won't get a bunch of paint inside and gum up the works.
Hit them with off white spray paint then spritz with brown and black paint to make them look dirty and have a nice texture. Seal with modge podge.


Put some tape on them if you wish. Colored electrical tape might be a fun way to distinguish your various injectables!
If you want some dried blood on them, mix red and brown and smear it on with a paper towel.

Finishing out your kit
Alright so now you have the essentials for your Supply Bag!
One last thing I'd recommend; a flashlight with red lens.


Your friends will love you for not murdering their night vision with these and if you really want to genre them up you can paint them with some silver paint, or do like I did and wrap them with the same cloth tape I used for the bottles and then give the tape a healthy brown paint wash.
Thanks for reading and I hope this helps anyone either looking for a visual learning guide, or even just for my friends that want to see some examples and be inspired to refresh their own kit!
-Stephen Fisher DRTX #4246
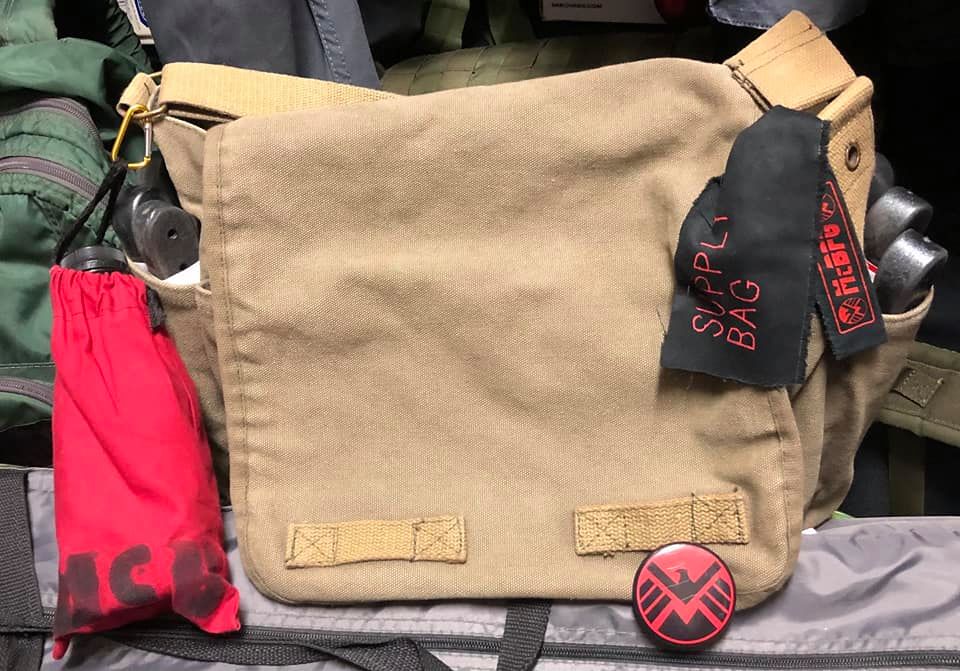
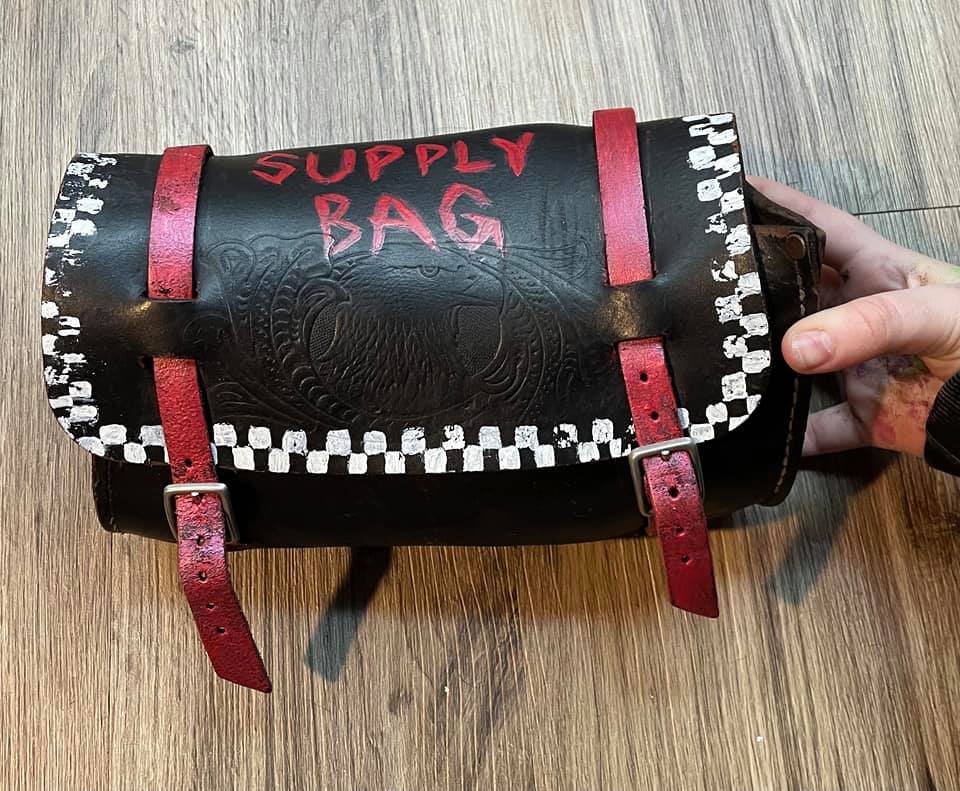
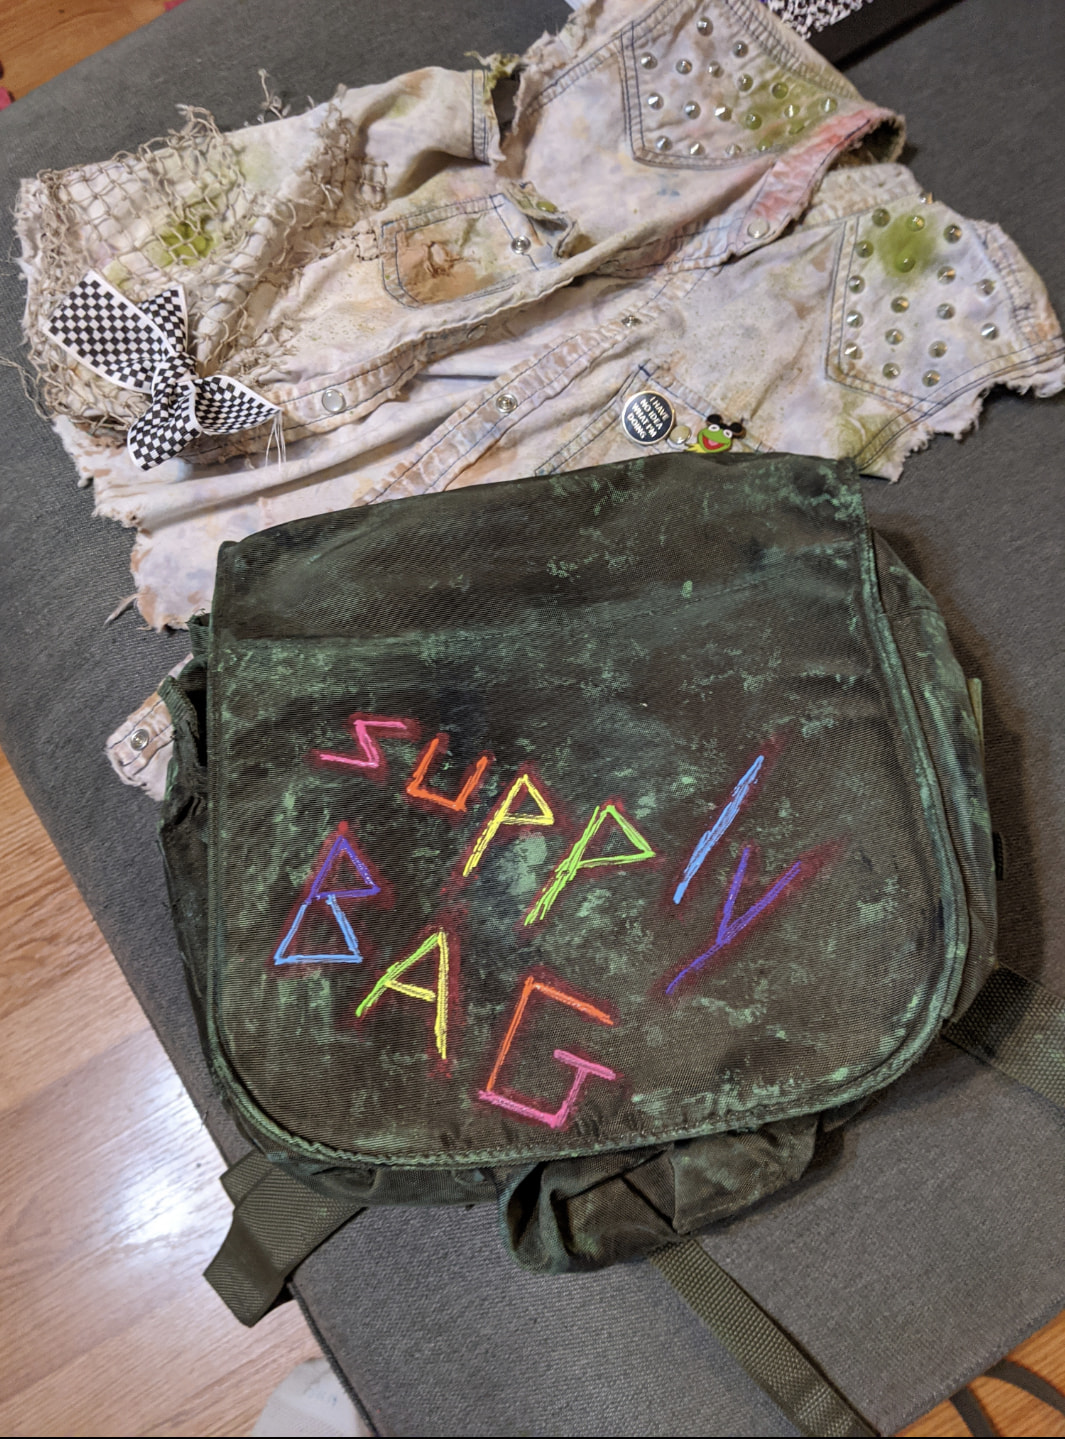
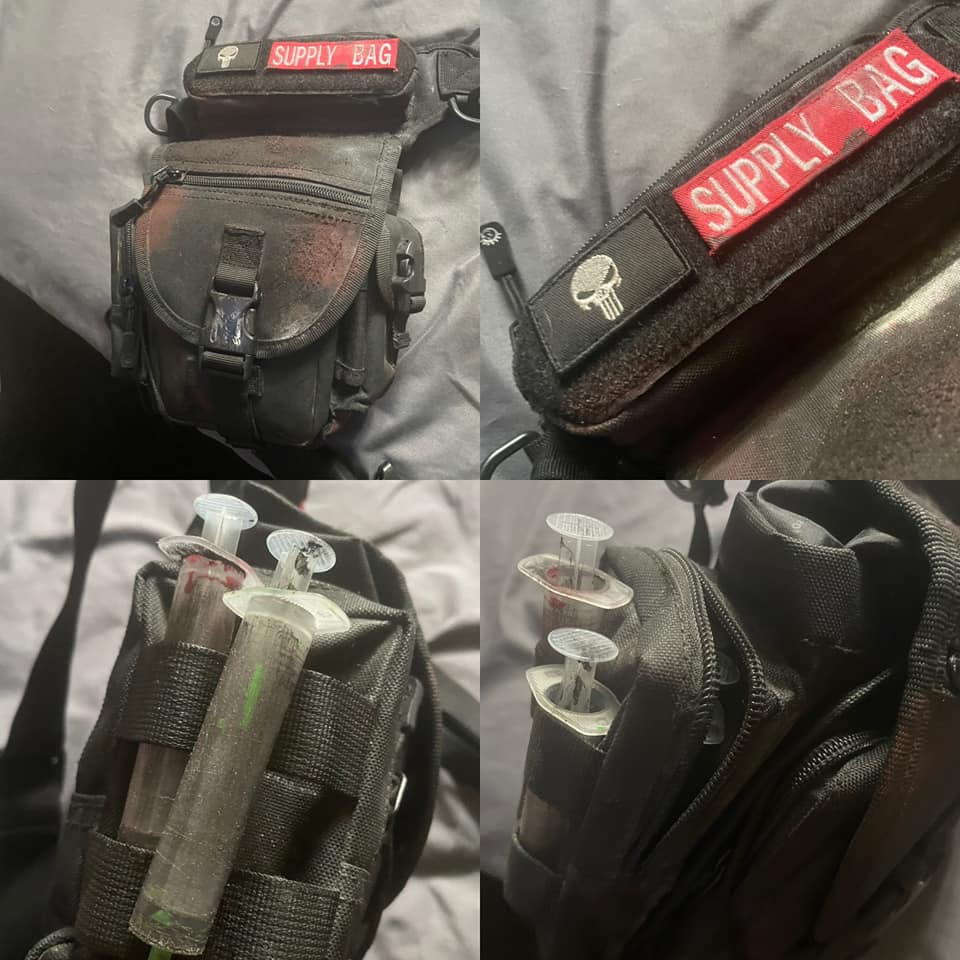
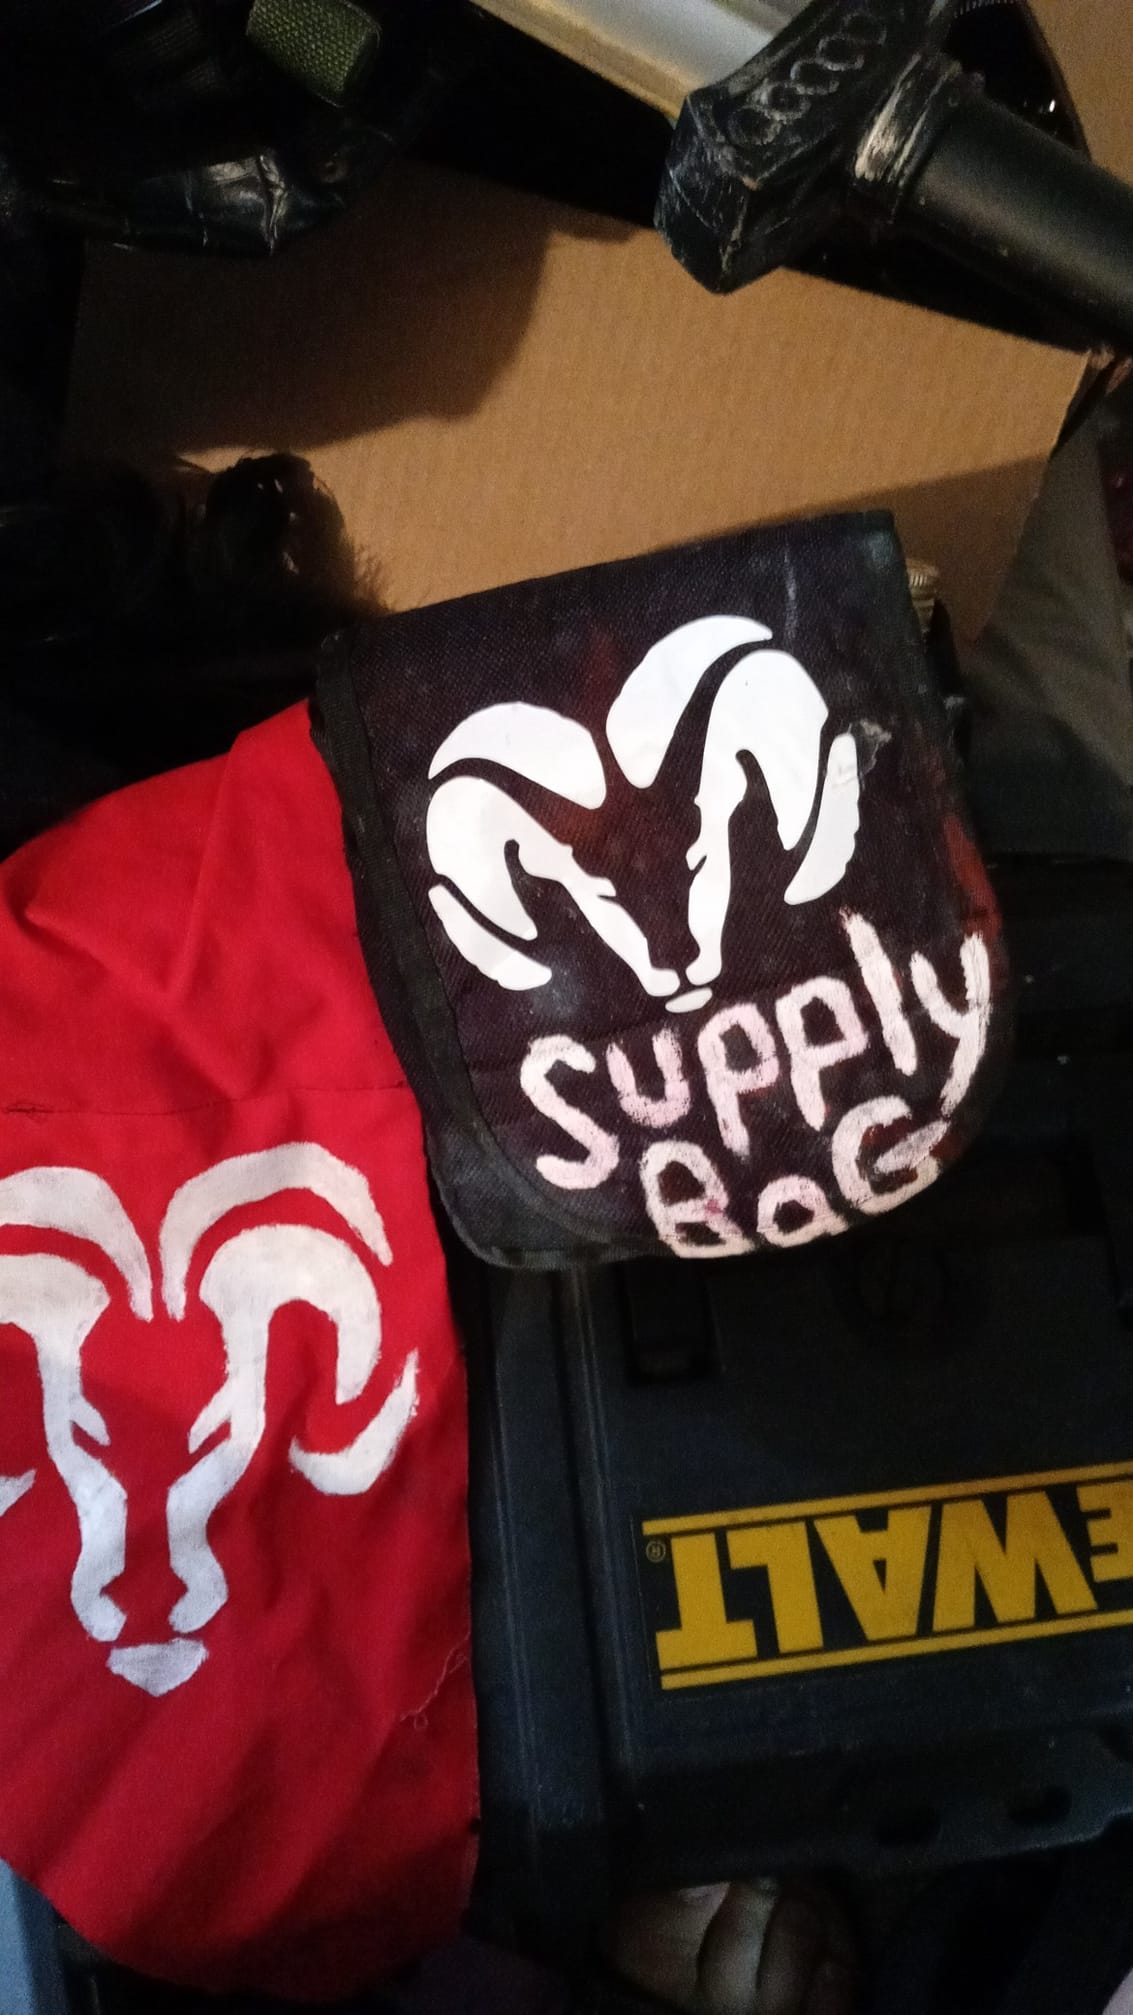
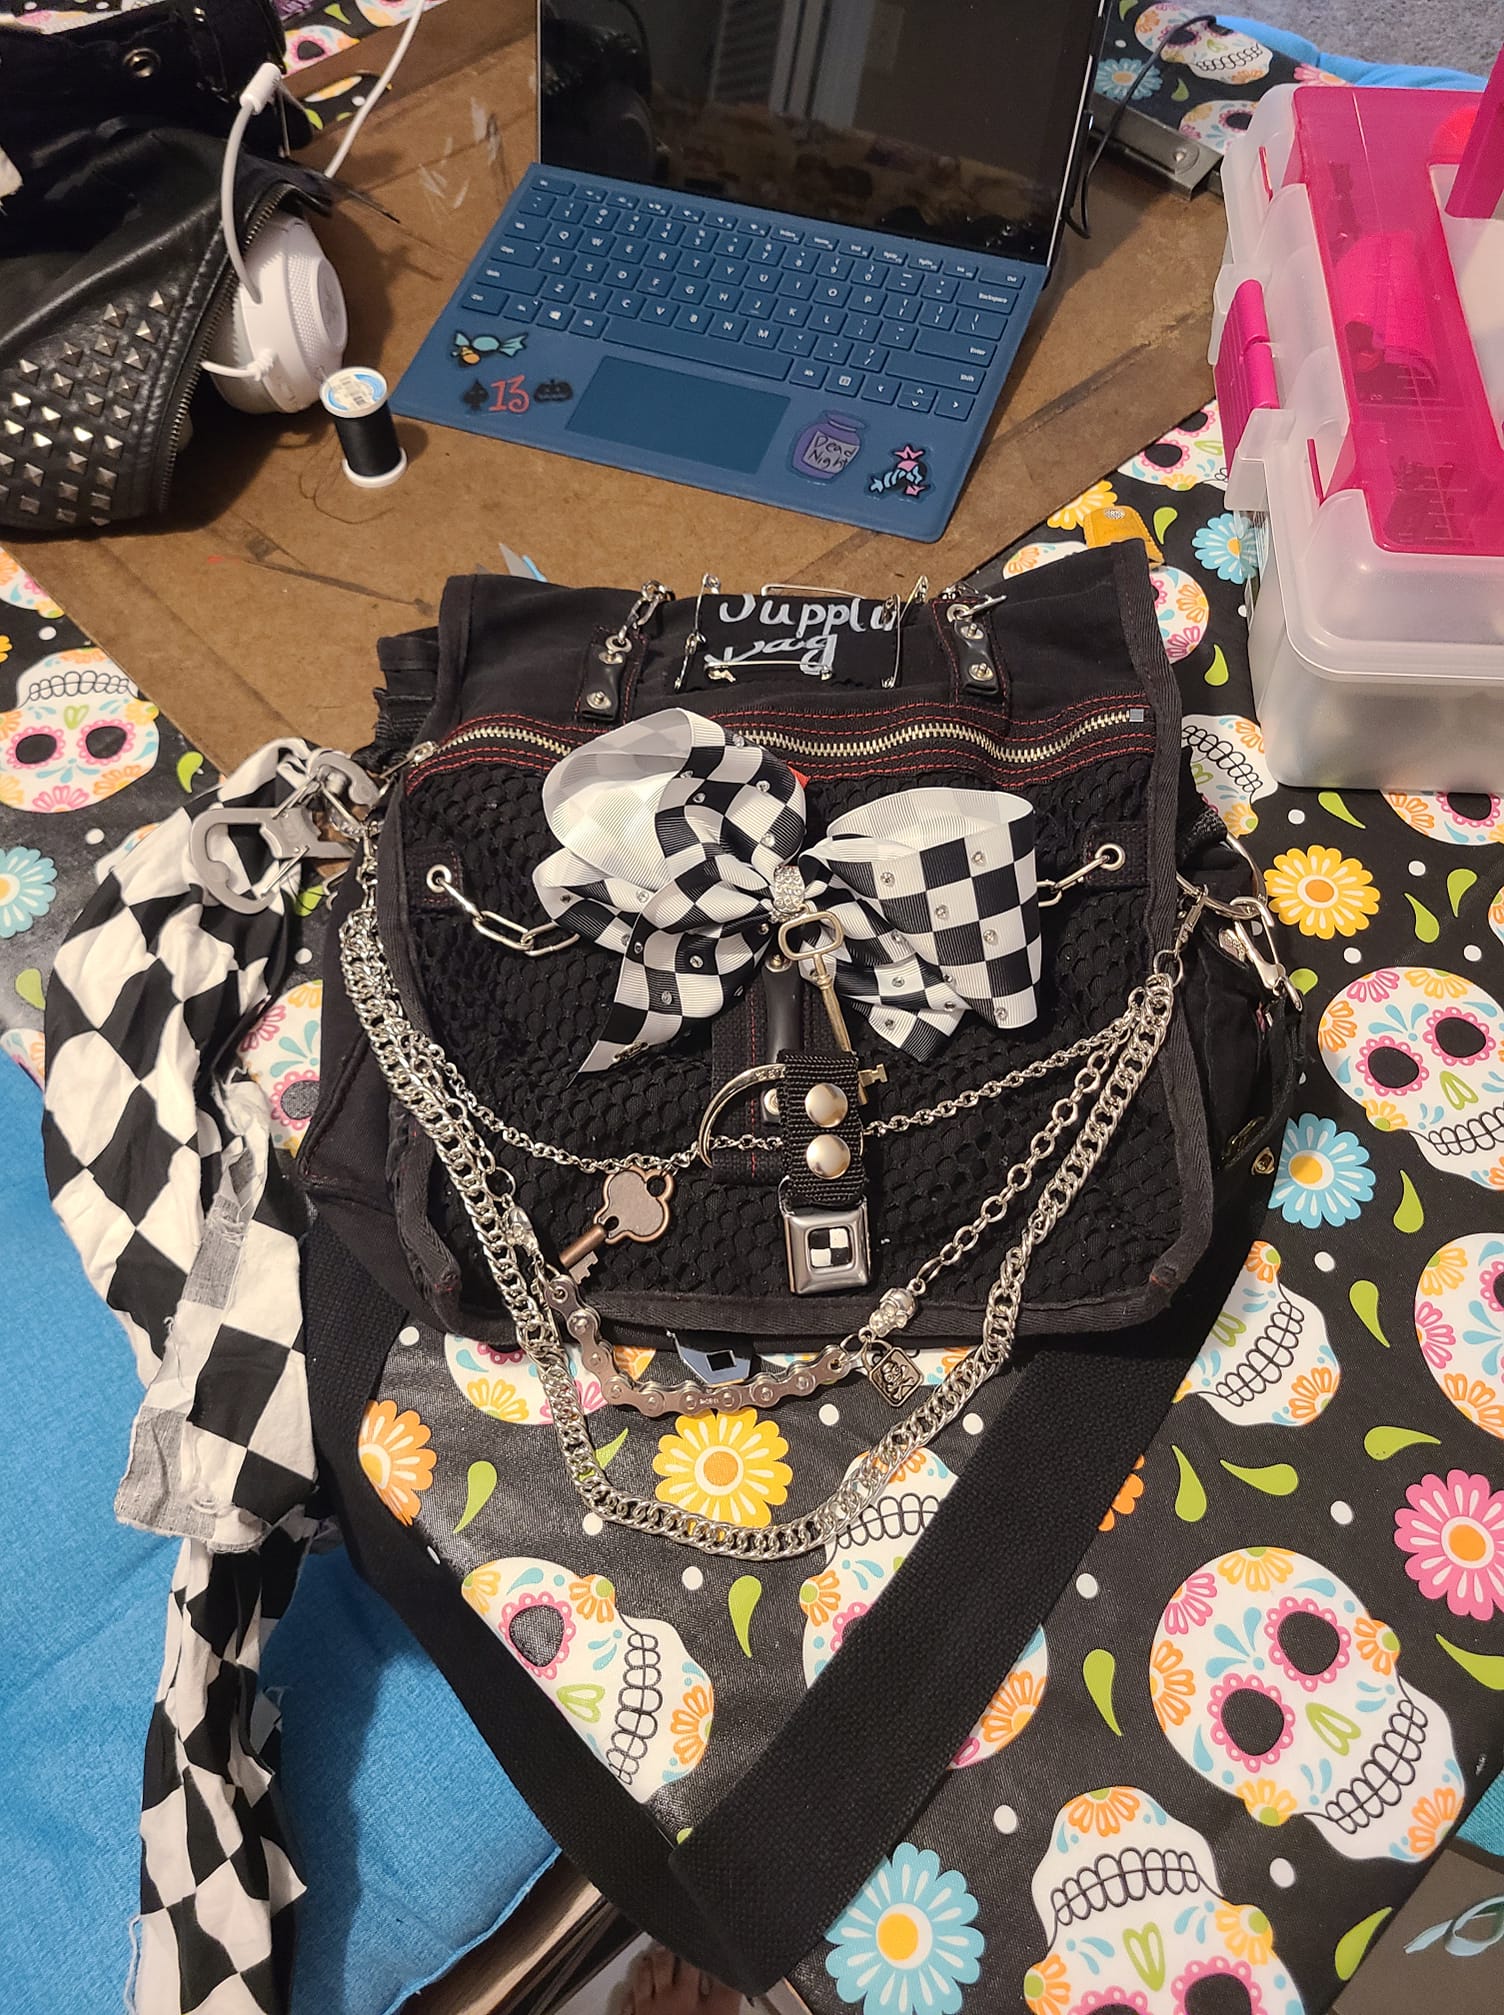
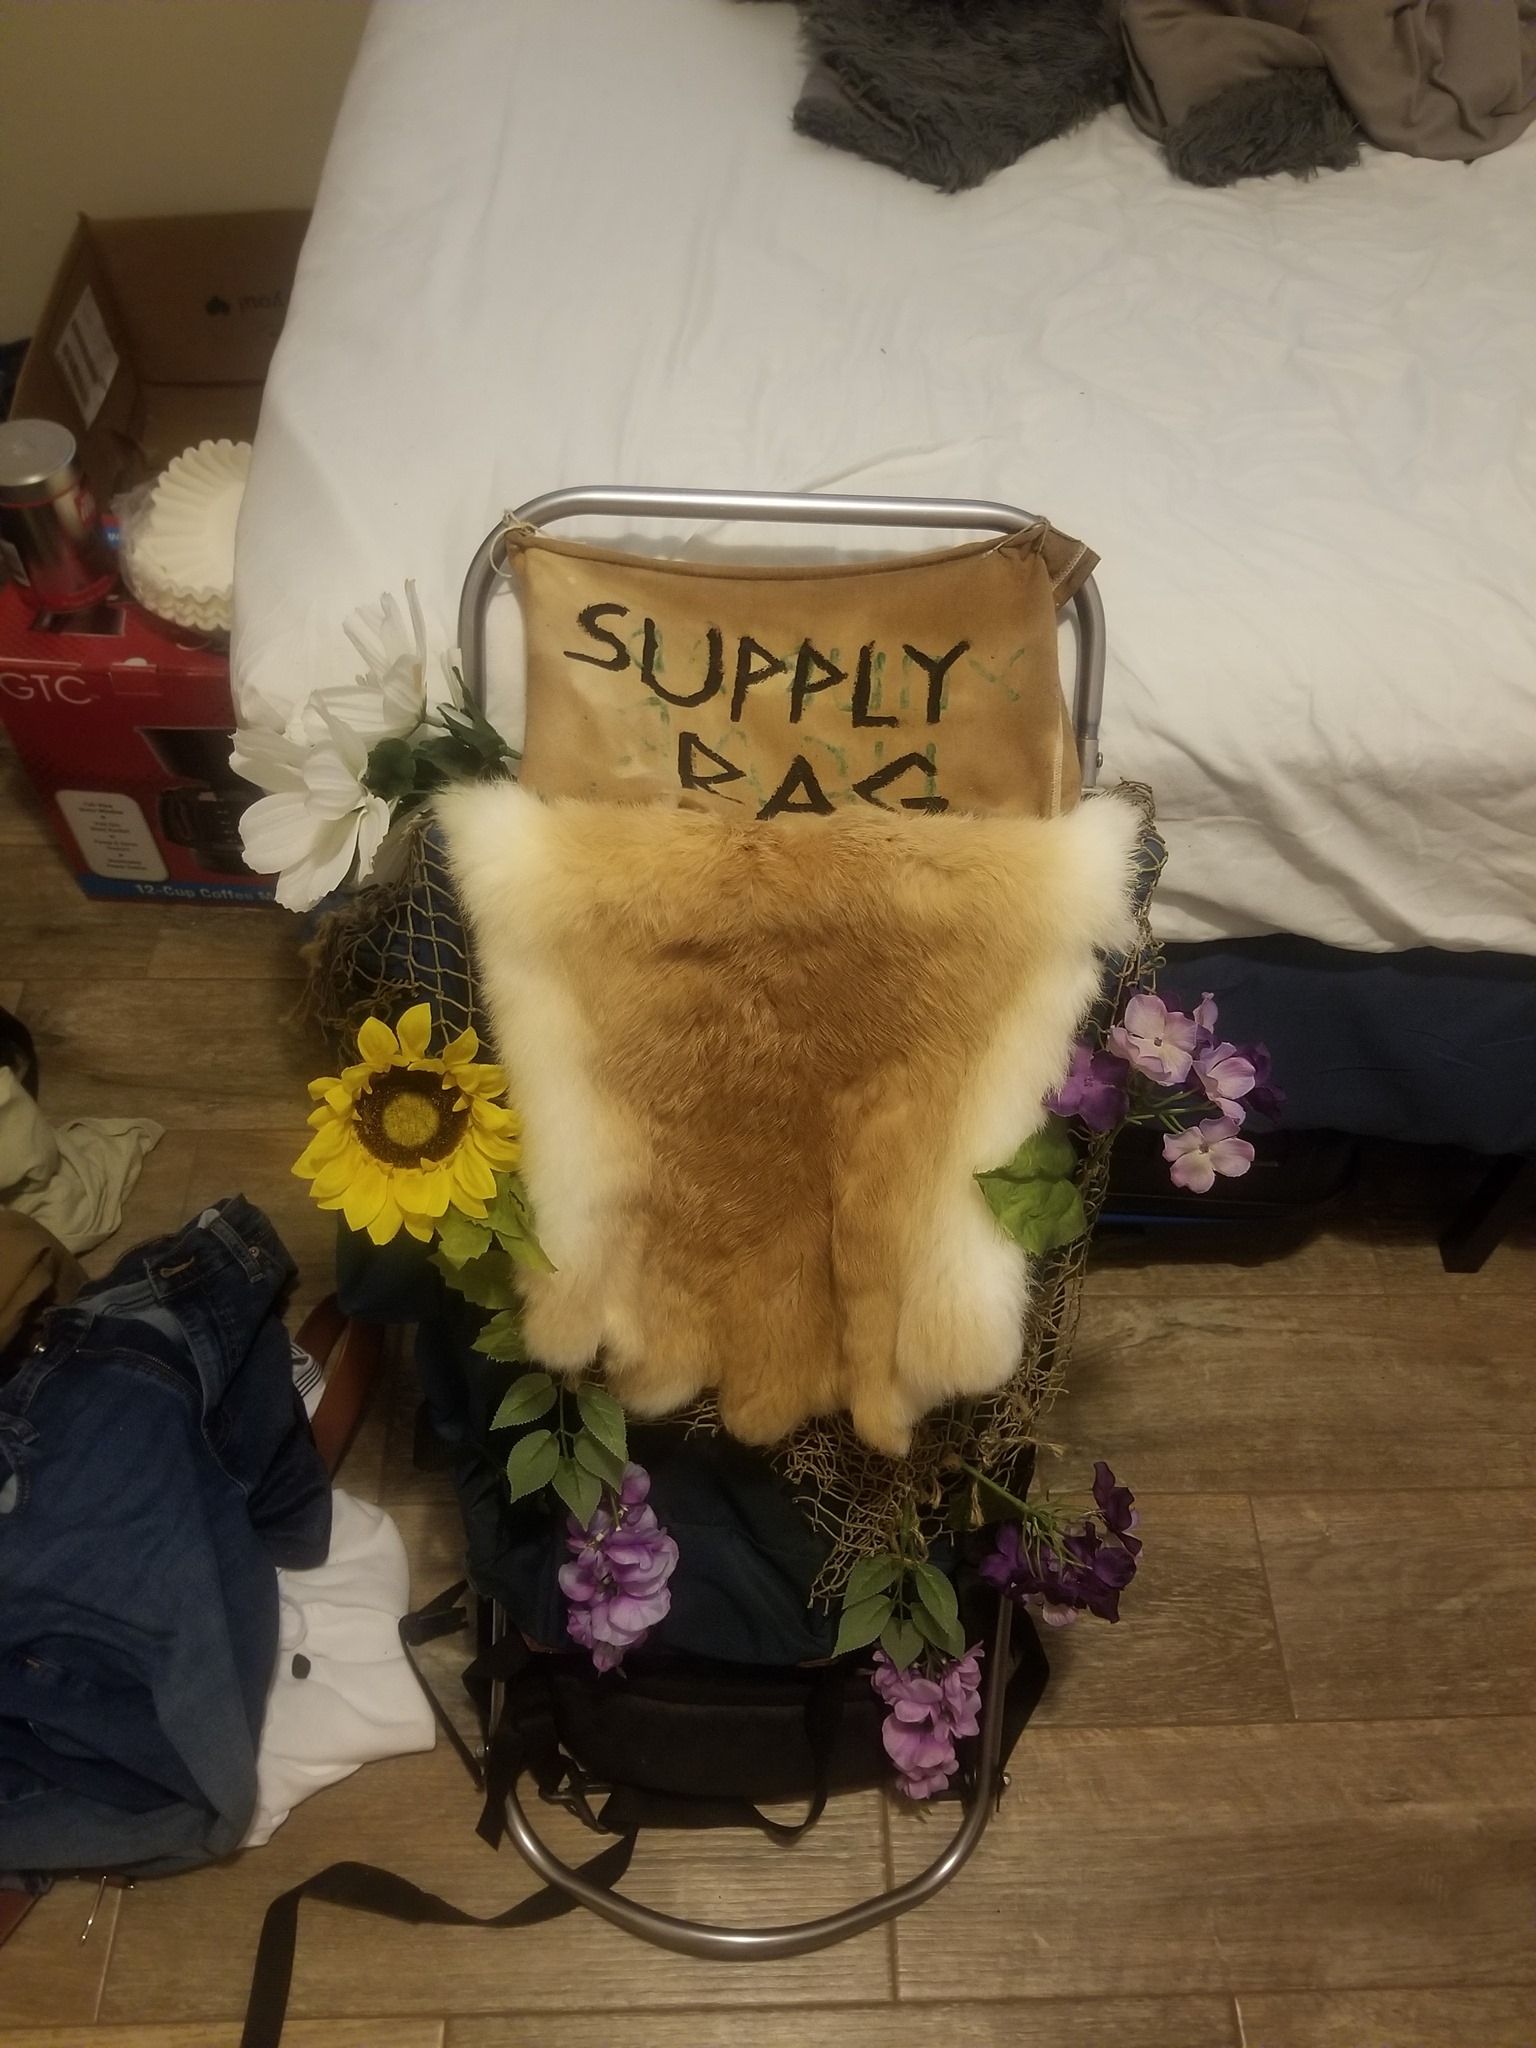
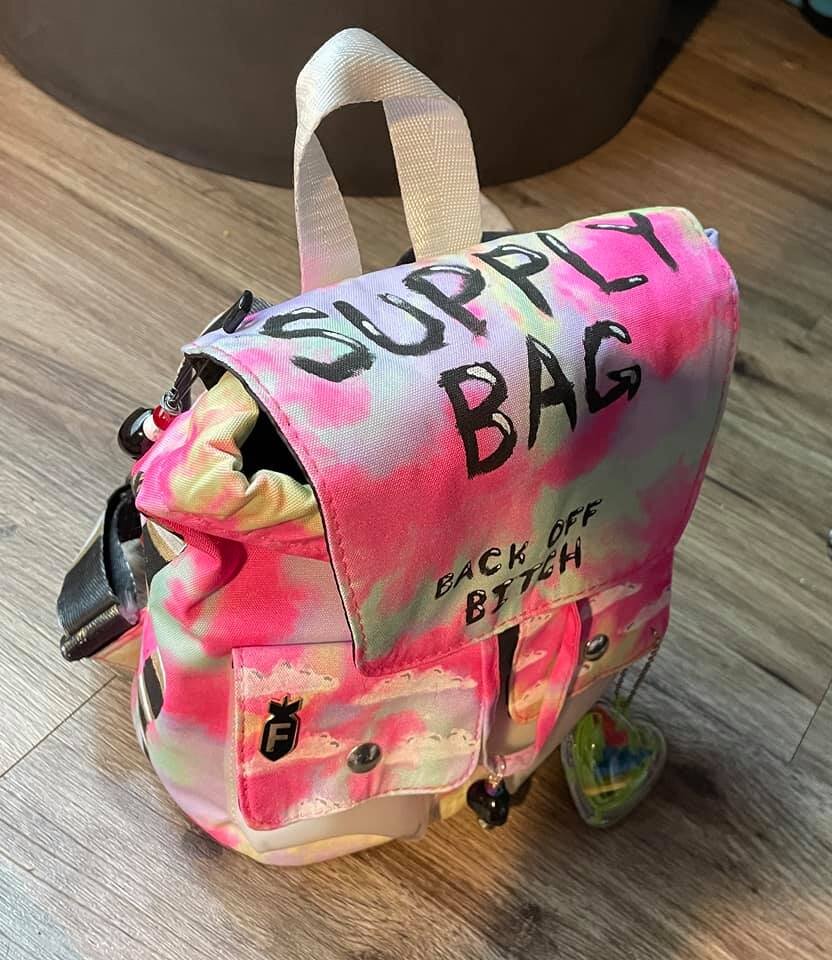
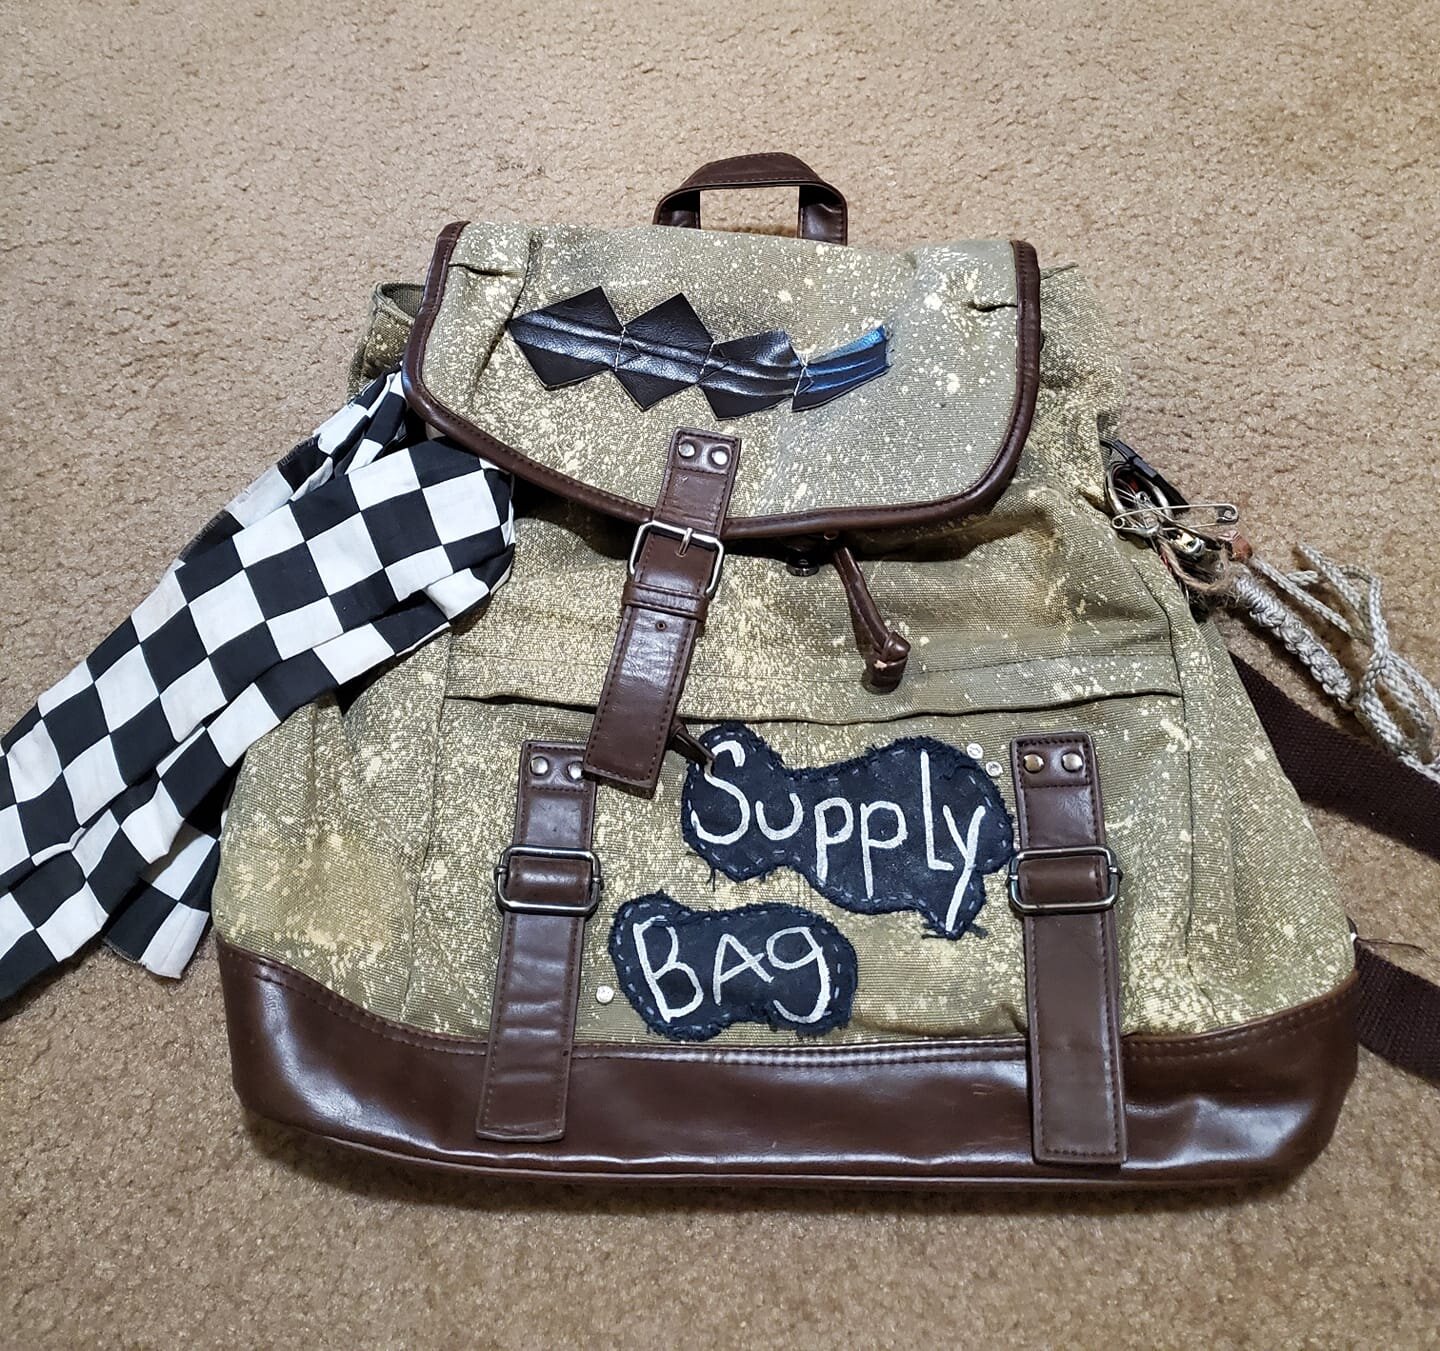
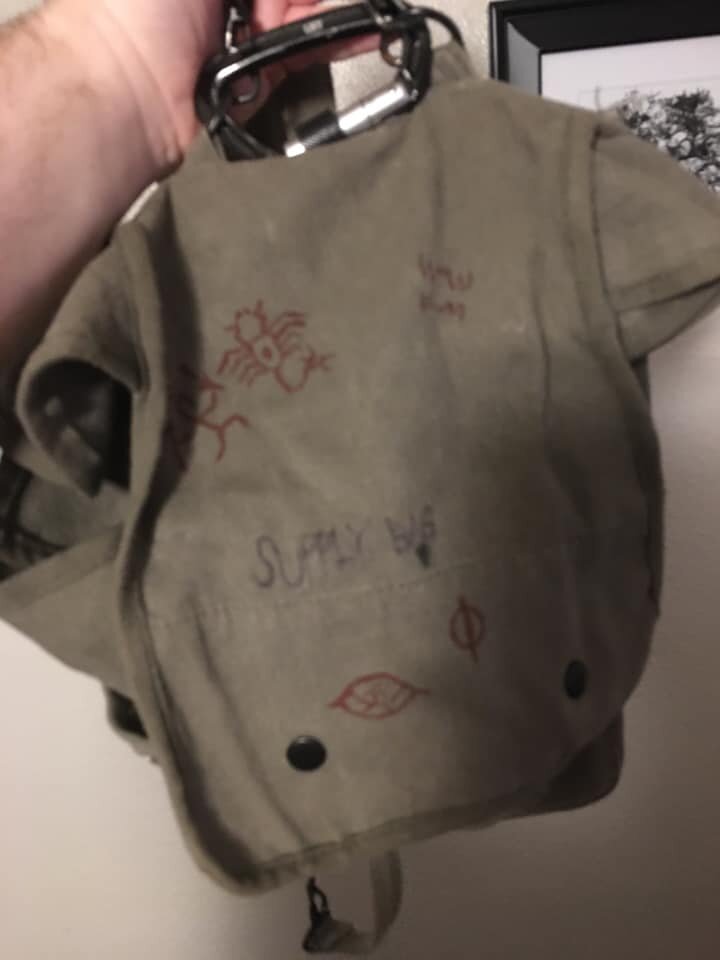
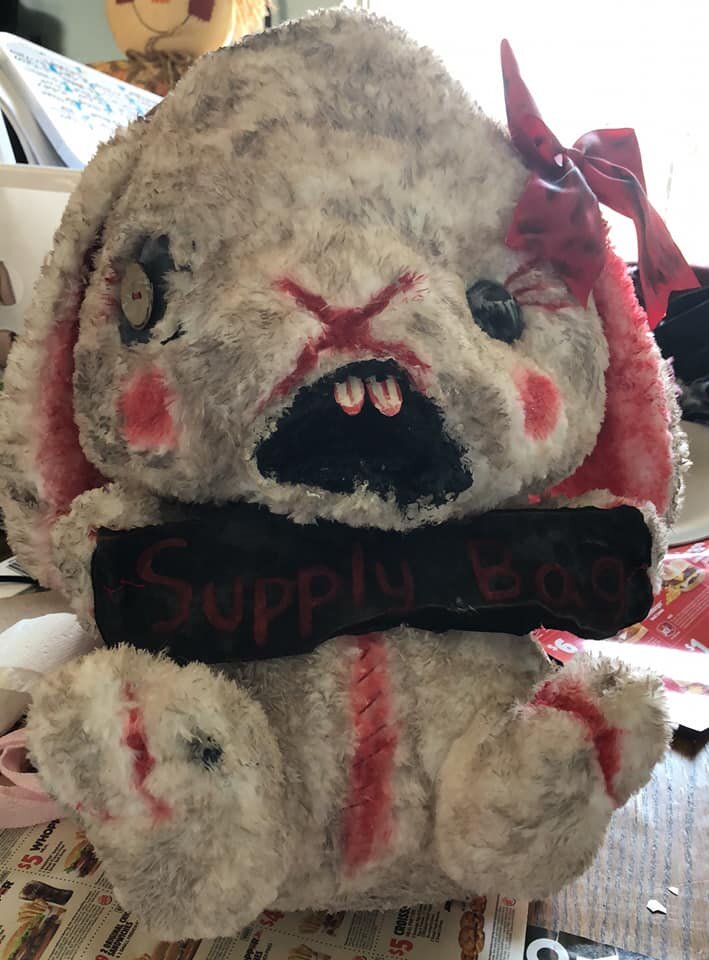
Additional Examples
Below are more pictures of other supply bags people have made! Check them out for inspiration.